How to Adjust and Shorten a Seiko Watch Band Length
.jpg)

Achieving the perfect fit for your Seiko watch is essential for both comfort and style. Adjusting the band length is a simple yet important step to ensure that your watch sits securely on your wrist. Whether you’ve recently purchased a new Seiko watch or need to adjust the band on an existing one, knowing how to shorten the watch band will make a significant difference in how it feels and looks.
This blog will show you how to adjust the Seiko watch band length. We’ll cover band types, necessary tools, and a simple step-by-step guide to adapt and shorten the band length of a Seiko watch. Plus, we’ll share tips, common mistakes to avoid, and professional adjustment options if needed.

Common Types of Seiko Watch Bands
When adjusting your Seiko watch band, knowing which type you have is important, as each style requires a different approach. Here are the most common types you'll come across:
1. Metal Bracelets

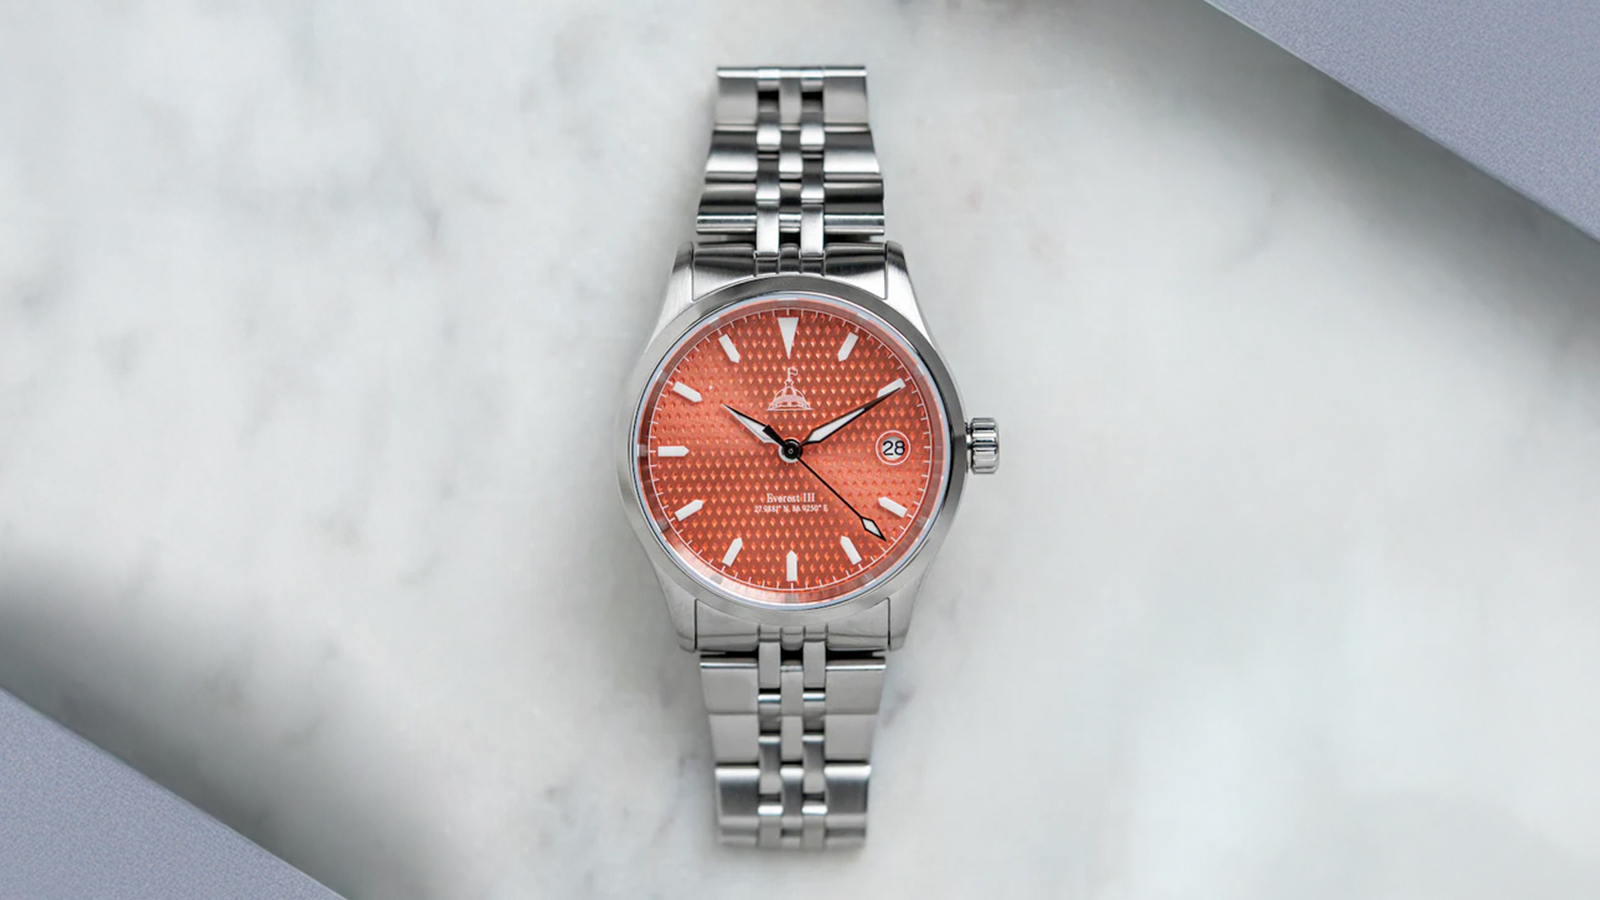
Metal bracelets are commonly found on many Seiko watches, including models like the Seiko 5 and Prospex collections. These are usually made from stainless steel or titanium and have links that can be added or removed to get the perfect fit. You’ll often find styles such as Oyster, Jubilee, and Milanese/mesh bracelets.
2. Leather Straps

Leather straps are popular on Seiko dress watches, especially models like the Presage series. These straps typically feature a traditional buckle with several holes, allowing you to fasten the strap at the most comfortable position. Some leather straps also include deployant clasps, offering extra security and a stylish look.
3. Rubber and Silicone Straps

Rubber or silicone straps are often found on Seiko dive watches and sports models. These straps are tough, water-resistant, and comfortable for daily wear.
4. NATO and ZULU Straps

NATO and ZULU straps are made from strong nylon, which is known for its durability and versatility. These straps are commonly used on outdoor and sports Seiko watches, like the Seiko 5 Sports or SKX series.
5. Specialty Bands
Some Seiko models, especially limited editions or vintage pieces, have unique materials or designs, such as canvas, guilloché leather, or hybrid straps.
Once you’ve identified the type of Seiko band you're dealing with, the next thing to think about is how, with the right tools, you can make the adjustment process as easy as possible.
Tools You’ll Need to Adjust Your Seiko Watch Band
Before you begin adjusting your Seiko watch band, having the right tools is important. Using the proper tools will ensure the process goes smoothly and help prevent any damage to your watch. Here’s a list of the tools you’ll need:
1. Spring Bar Tool
This tool is essential for safely removing the watch band from the case and handling the spring bars. It allows you to easily detach and reattach the band without causing damage.
2. Pin Punch Tool
The pin punch tool is necessary if your Seiko watch uses a pin and collar system for its metal band. It helps you push out the pins from the links when adjusting the band length.
3. Small Hammer
When shortening the band, a small hammer is used in conjunction with the pin punch tool to gently tap out the pins. Be sure to use it gently to avoid damaging the band.
4. Precision Screwdriver
A small flat-head screwdriver is needed for Seiko models with screw-type links. This tool helps you unscrew the links and remove them to adjust the band length.
5. Needle-Nose Pliers
These pliers are useful for gripping and removing small pins or collars, particularly if they are tight or hard to handle. They offer precision and control during the process.
6. Soft Cloth or Mat
It’s important to protect your watch from scratches while working on it. A soft cloth or mat will provide a safe surface, ensuring it stays in pristine condition during the adjustment.
7. Bracelet Holding Block (Optional)
This tool helps stabilise the bracelet while you remove or add links. It makes the process easier and reduces the risk of the band slipping during adjustments.
8. Electrical Tape (Optional)
Wrapping a small piece of electrical tape around the lugs or case can prevent accidental scratches when you’re working close to the case. This is an optional but helpful step for extra protection.
With your tools now ready, it's time to move forward and examine how to adjust and shorten your Seiko watch band.
8 Simple Steps to Adjust and Shorten a Seiko Watch Band
Adjusting and shortening your Seiko watch band at home is relatively straightforward when you have the right tools and follow the proper steps. Below are eight steps to help you achieve a comfortable fit without damaging your timepiece.
Step 1: Measure and Decide How Many Links to Remove
Start by wearing the watch and checking how loose it feels.
Estimate how many links need to be removed for the band to sit snugly on your wrist.
To keep the clasp centred, removing an equal number of links from each side is best.
Step 2: Identify Removable Links & Direction Arrows
Turn the bracelet over and locate the small arrows on the inner side of the links. These arrows indicate the direction in which you need to push the pins when removing them.
Step 3: Set Up Your Workspace
Place the watch on a soft cloth or a bracelet holder with the arrows pointing downward. This will protect the watch from scratches and keep it stable while you work.
Step 4: Remove the Pins
Using your pin punch tool, gently push the pin in the direction of the arrow.
If it feels tight, lightly tap it with a small hammer until the pin begins to move. Once loosened, pull it out carefully using your fingers or pliers.
Some Seiko bands include tiny collars inside the links, keeping these safe as you remove each pin.
Step 5: Take Out the Links
Once the pins are out, remove the link or links you no longer need. Make sure you remove them evenly from both sides of the clasp for a balanced fit.
Step 6: Reconnect the Bracelet
Line up the remaining links and insert the pin back through the hole, pushing it in the opposite direction of the arrow.
If your band uses collars, make sure they’re correctly placed before reinserting the pin.
Tap it gently until it sits flush with the bracelet.
Step 7: Use the Clasp’s Micro-Adjustment (If Needed)
Some Seiko models have a micro-adjustment feature on the clasp. You can use a spring bar tool to move the spring bar to a different hole to fine-tune the fit for better comfort.
Step 8: Final Fit and Safety Check
Try on the watch again to check the fit.
Make sure all pins are secure and the clasp fastens properly.
Give the bracelet a gentle tug to ensure everything is firmly in place.
Now that the band is adjusted, the next step is ensuring everything stays secure. It’s easy to overlook some important factors, so let’s explore what you should be mindful of.
Mistakes to Avoid When Shortening a Seiko Watch Band
Adjusting your Seiko watch band at home is quite straightforward, but to ensure a secure and comfortable fit, you must avoid a few common mistakes.
1. Not Checking the Direction of the Arrows
Always look for the small arrows on the inside of the bracelet links. These indicate the correct direction to push the pins out, and ignoring them can result in damaged or broken links.
2. Misplacing the Tiny Collars
If your watch uses a pin-and-collar system, be extra careful not to lose the small collars inside the links. These are essential for keeping the pins in place, and without them, the bracelet won’t stay together securely.
3. Using Too Much Force
Avoid using excessive pressure when removing or inserting pins. Forcing them can scratch or damage the bracelet. Use the right tools and apply gentle, controlled movements.
4. Taking Out Too Many Links at Once
Don’t rush the process by removing several links at once. Take out one or two links at a time and check the fit after each adjustment. This helps prevent over-tightening the bracelet.
5. Ignoring Balance
Try to remove an equal number of links from both sides of the clasp. This keeps the clasp centred on your wrist and ensures a more balanced and comfortable fit.
6. Not Securing Pins Properly
Once you’ve reassembled the bracelet, ensure all the pins are fully pushed in and secured. Loose pins can cause the band to fall while wearing it.
7. Overlooking the Clasp’s Micro-Adjustment
Many Seiko watches have micro-adjustment holes on the clasp. If the fit isn’t quite right after removing links, use these to fine-tune the size instead of pulling an additional link.
8. Using the Wrong Tools
It’s important to use proper watch tools such as a spring bar tool, pin pusher, or small screwdriver. Avoid using household items that can easily slip and scratch the caseband or bracelet.
9. Working on an Unsafe Surface
Constantly adjust your watch on a soft, clean surface to avoid scratches and prevent small parts from bouncing away or getting lost.
While knowing what to avoid is essential, there are times when it’s best to turn to a professional for assistance. Let’s explore when it’s time to leave the adjustment to an expert.
When to Let a Professional Adjust Your Seiko Watch Band?
While adjusting a Seiko watch band can often be done at home, there are certain situations where it’s best to leave the task to a skilled watch technician. Here are the most common reasons to seek professional help:
1. When the Bracelet Design is too Complex
Some Seiko watches feature intricate bracelets with advanced link systems or unique clasps.
A professional will understand the mechanism and avoid damaging the caseband or bracelet during adjustment.
2. If You Don’t Have the Proper Tools
Using improvised tools can do more harm than good.
Without precision instruments, you risk scratching the caseback, damaging spring bars, or stripping small screws.
3. For Watches of Sentimental or High Value
Special pieces, like vintage models or limited editions, deserve extra care.
A professional ensures the watch is handled delicately and retains its original condition and value.
4. If the Bracelet Still Feels Loose or Misaligned
Sometimes, a home adjustment may not result in a perfect fit.
An expert can fine-tune the alignment and secure the bracelet properly for a clean and comfortable finish.
5. When the Watch has a Special Finish or Coating
Watches with finishes like guilloché or coated metals require careful handling.
A trained professional will know how to protect the surface and preserve its appearance.
Final Thoughts
By now, you’ve seen that adjusting and shortening your Seiko watch band isn’t as difficult as it may seem. Every step has a clear purpose, from identifying the right tools to carefully removing links and checking the fit. You can confidently make these adjustments at home with the right approach and tools. Taking your time, following the direction arrows, and using a soft work surface can help avoid common mistakes.
If you're ever unsure or dealing with a more complex bracelet design, professional help is always an option. But for most standard Seiko models, adjusting the band yourself is simple, satisfying, and well within your reach.
A well-fitted watch band enhances comfort, keeps your watch secure, prevents unnecessary wear, and improves overall wrist balance!
Image Credits: Seiko


